From my conversations with the Beyond Calligraphy community, it seems that a lot of people have a difficult time finding a good shodo teacher from whom to learn or any teacher at all. This means that a lot of students are trying to learn from books or streaming video services. This is a double-edged sword. The good point is that there are many people who have the passion for and want to learn this wonderful art. The bad point is that some of these learning mediums miss the simple things.
Here are 5 tips which have helped me to improve my Shodo.
1. Watch your stroke order, not just for the Kanji and kana, but where you start on the paper. In the West the start is at the top left hand corner and works its way across the page to the right side, then continues to the line below in the same way. In Japan, the start is at the top right corner and works its way down the page, then continues at the top left and works its way down. I know it sounds simple to do, but sometimes I still find myself writing in the western way. (It takes time to re-train your brain). If you are confused about why stroke order is important, please read this post.

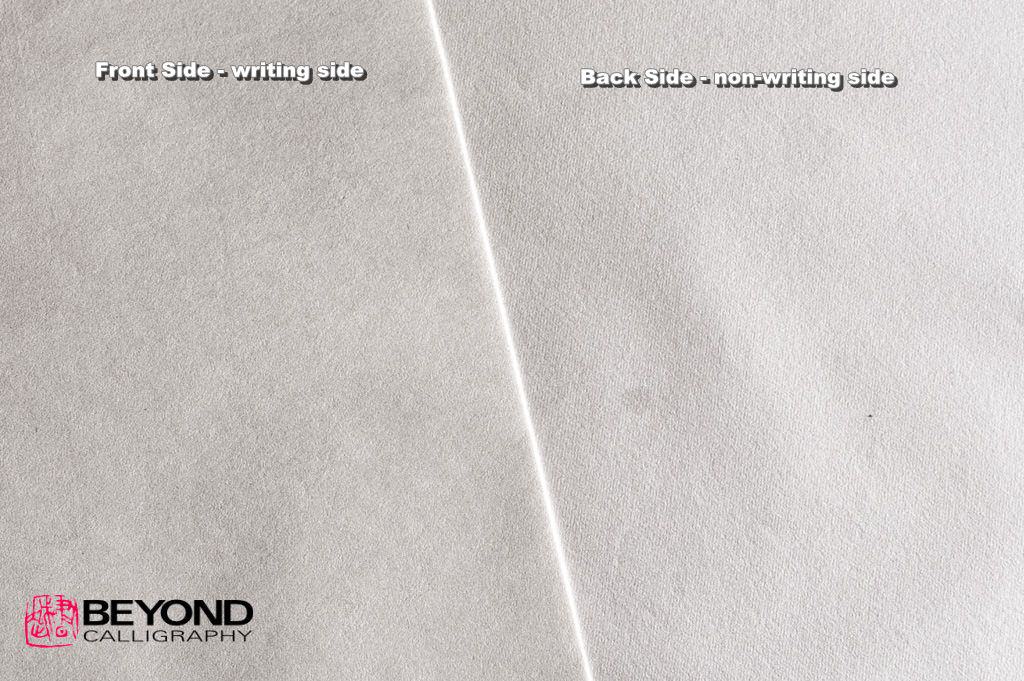
2. Purchase good washi paper and write on the smooth side. To understand the reason for writing on the smooth side, I asked my friend Lauren (you might know her as Paperwoman) who runs Paper Connection International to explain the differences. Traditional Handmade Shodo Paper (high-end) is dried on a flat surface which creates a smoother surface on one side. This kind of Washi paper is made purposefully with certain relatively short fibres (mitsumata, etc.) that are evenly interspersed leaving no thin or thick spots.
A drop of ink (or water) should travel (bleed) from its applied point in a concentric circle, or the drop of ink (or water) will be absorbent so the ink will “sink” into the sheet and not dribble in different directions. Machine-screened paper is made on a belt so that the pulp that is facing the belt is usually smoother. Moreover this inexpensive shodo paper is coated on one side with buffering agents. This coating makes it easier to control ink, whereas the Traditional Handmade Shodo Paper shouldn’t really have any sizing or coating.
3. When I restarted studying Shodo, I noticed that everyone was holding their brush at the far end or in the middle of the brush handle. Well, I thought it must be easy, so I copied everyone else. That was the wrong thing to do, and my teacher corrected my hand position on the brush and placed it closer to the hairs. It’s the same when you start out using chopsticks, start at the end closest to the food and once you have the hand strength, move your hand away from the food.

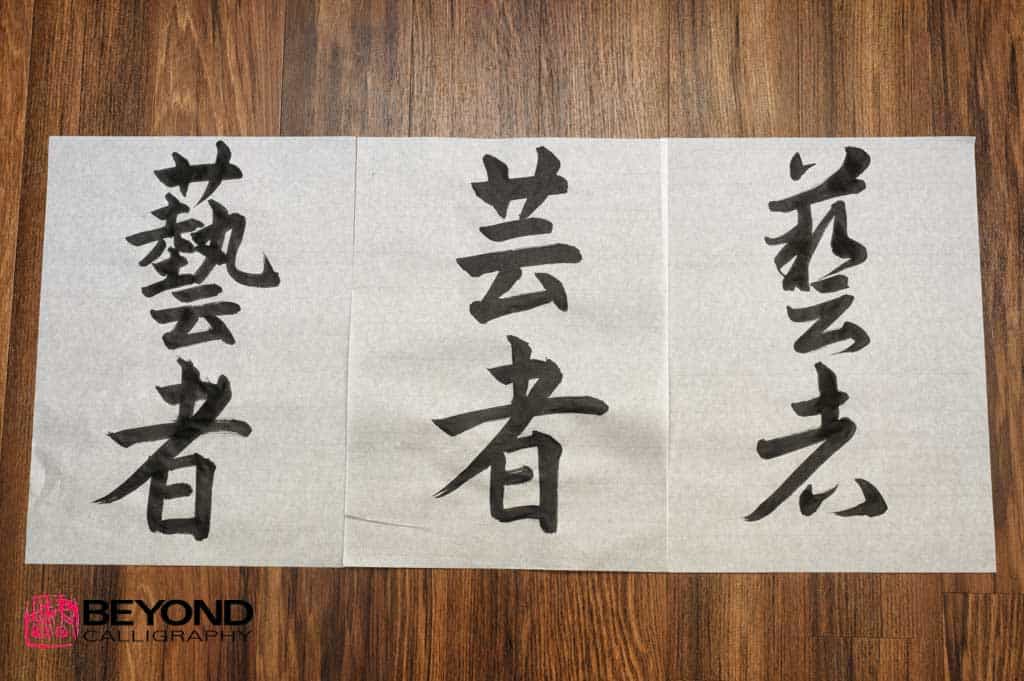
4. If you are self-learning Shodo, start with Kaisho (standard script) and then move into the other scripts like Sousho (cursive script) or Gyousho (semi-cursive). To me, Kaisho is the foundation of Shodo, just like printing (block letters) is the foundation of Western Calligraphy. Once you have learned Kaisho, you will have a better understanding of how the characters are formed plus the arm muscle strength for better brush control. (To learn more about Kaisho – standard script, please go here.)
5. Keep your body relaxed and remember to keep your breathing smooth. Following this rule and the one below will help to keep your lines flowing smoothly.
6. Never second guess yourself. What I mean is do not stop mid stroke because you think you might be doing something incorrectly. Just continue on until you finish. FYI: I learned this tip from my guitar teacher many, many, many moons ago, when I had to take my Royal Conservatory of Music exams.
Yep, I have added an extra tip so it would be 6 tips to help anyone starting off in Shodo. If I notice anything more which has helped me I will make a new tips post.
If you have any tips please leave a comment below.