There are two major types of ink (墨, すみ, sumi) used for the Far Eastern calligraphy. One is a traditional solid ink, and the other one is a ready-made liquid. To read more about both types, visit our home page here.
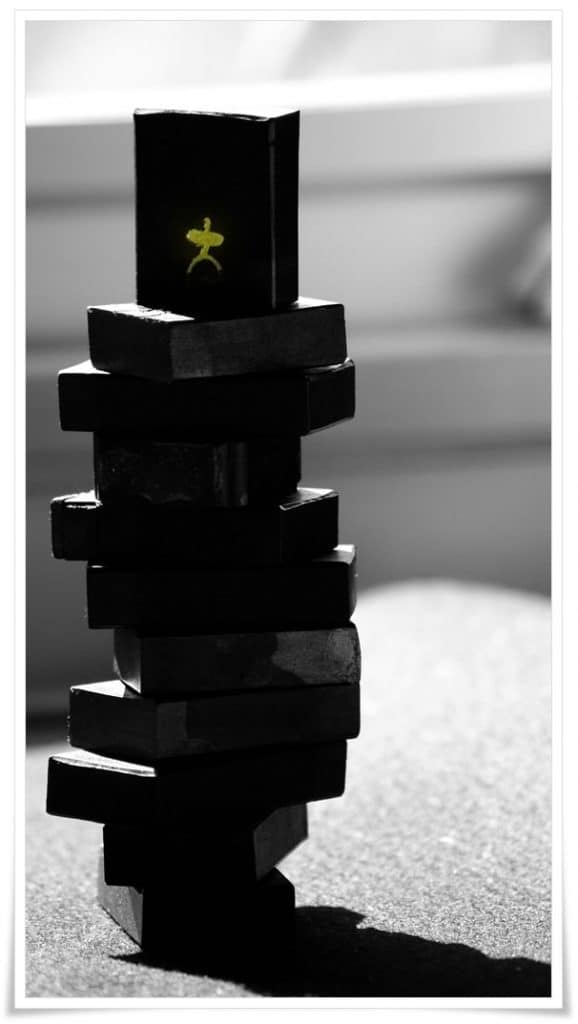
Many people ask me, “How do you make ink for calligraphy?” Well, it is quite simple. It is rubbed with water on the insktone (硯, すずり, suzuri). Controlling the density and colour is a skill gained throughout years of grinding ink. However, no one has ever asked me what to do with ink leftovers. If you grind an ink stick it is natural that it is impossible to use it all. Ink is not cheap, and it would be a horrible waste to throw out the remainder of the inkstick when done grinding. So what do we do with those tiny pieces of ink? We glue them together.
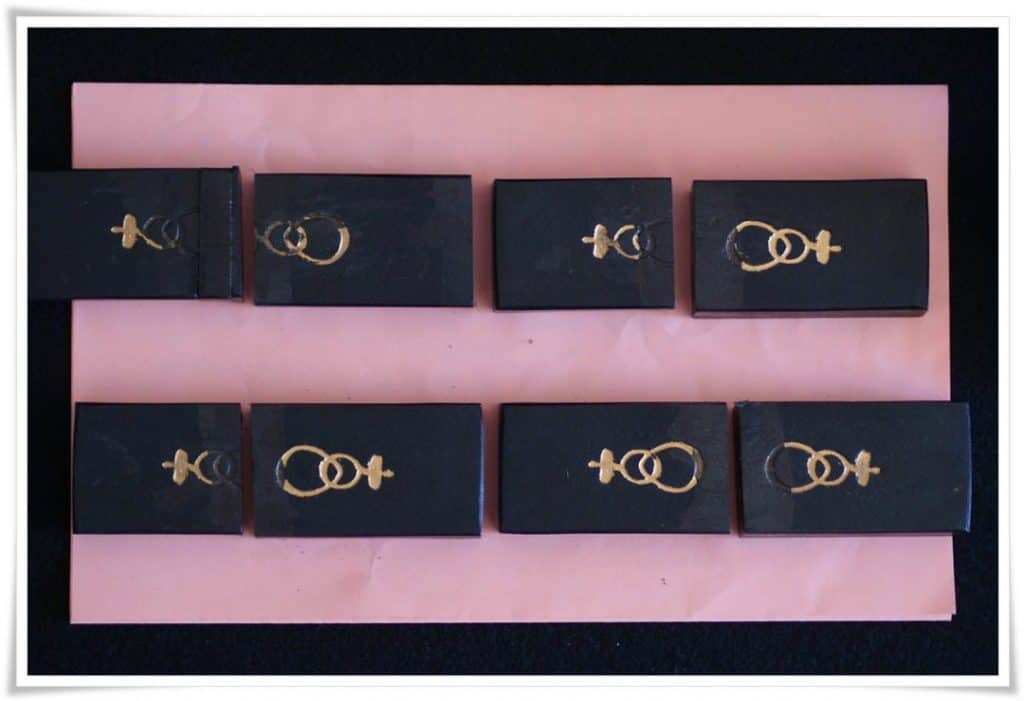
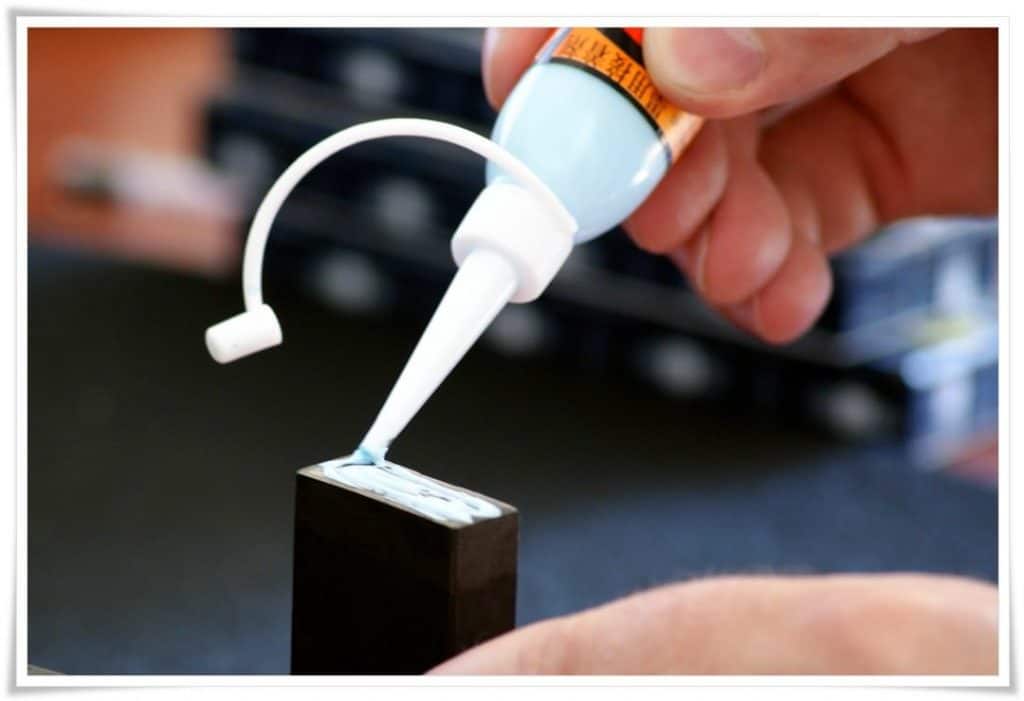
One of the ingredients of calligraphy ink itself is animal-bone-extract based glue. The same glue is used for gluing ink pieces together. To accomplish this daunting task, you will need a special glue sold in calligraphy stores, an elastic band, and possibly some sand paper, or a shredding stone (inkstone can be used as well).
First, you need to make sure that both inks are the same brand. It is important, as various inksticks may differ in colour, even when made of the same type of soot. As a matter of fact, even some inksticks made by the same manufacturer can be inconsistent in colour. Ink colour is determined mainly by the soot ratio, but also by the drying process.
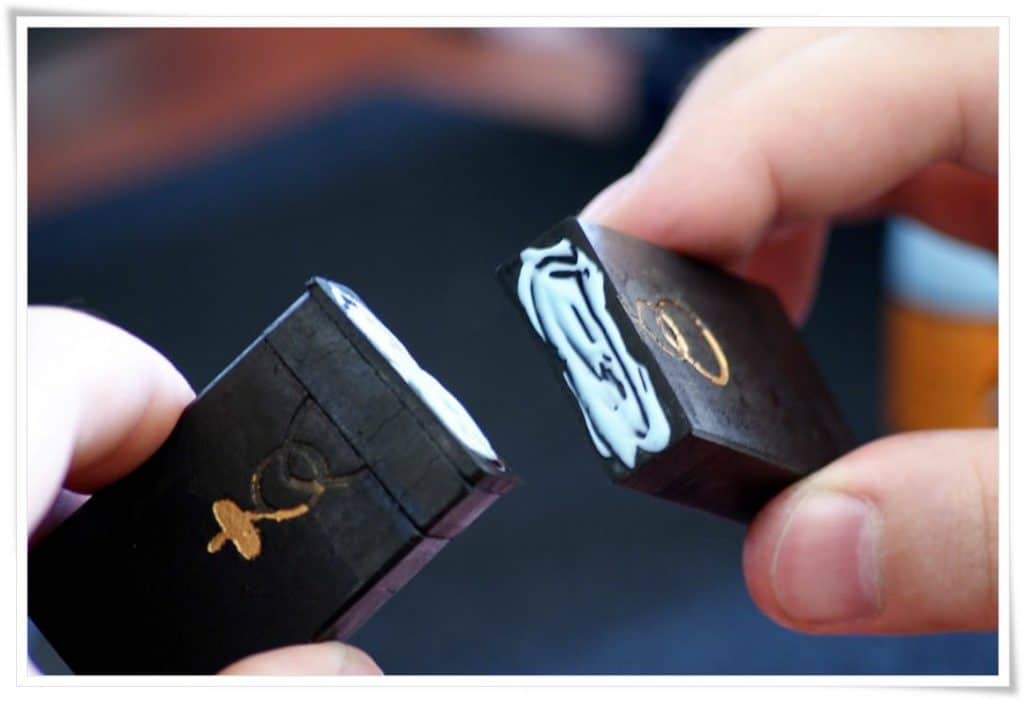
Once you have matching pieces of ink, you need to remove all the grease from the surfaces you intend to join together, and smooth it out. Very fine sand paper may be a good choice. You could also try rubbing the ink on the inkstone (do not forget to add water!), then dry it afterwards.
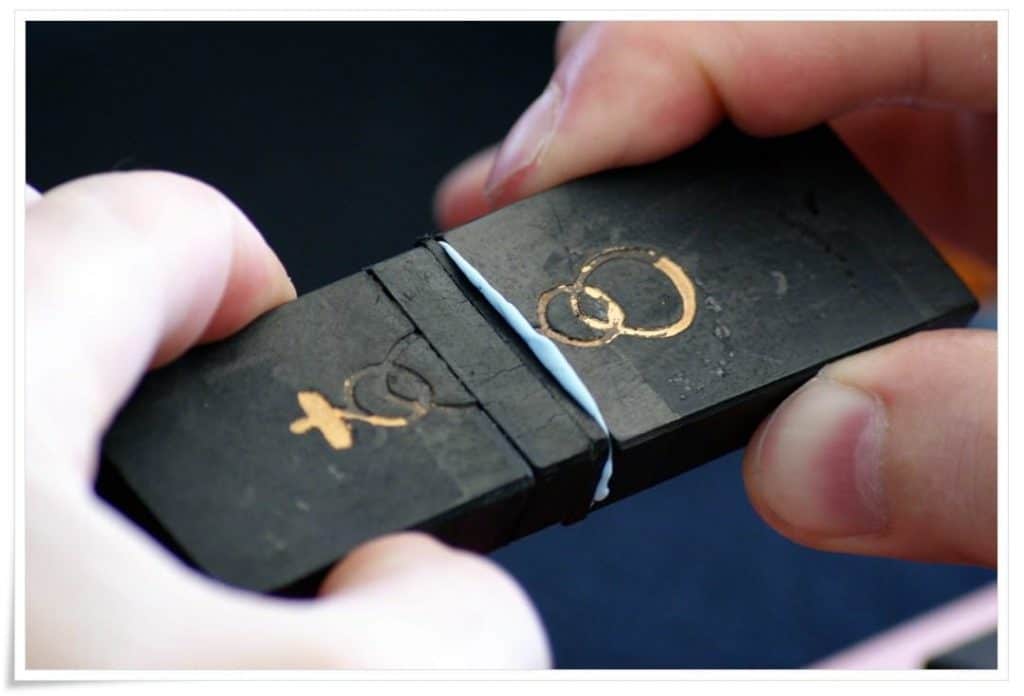
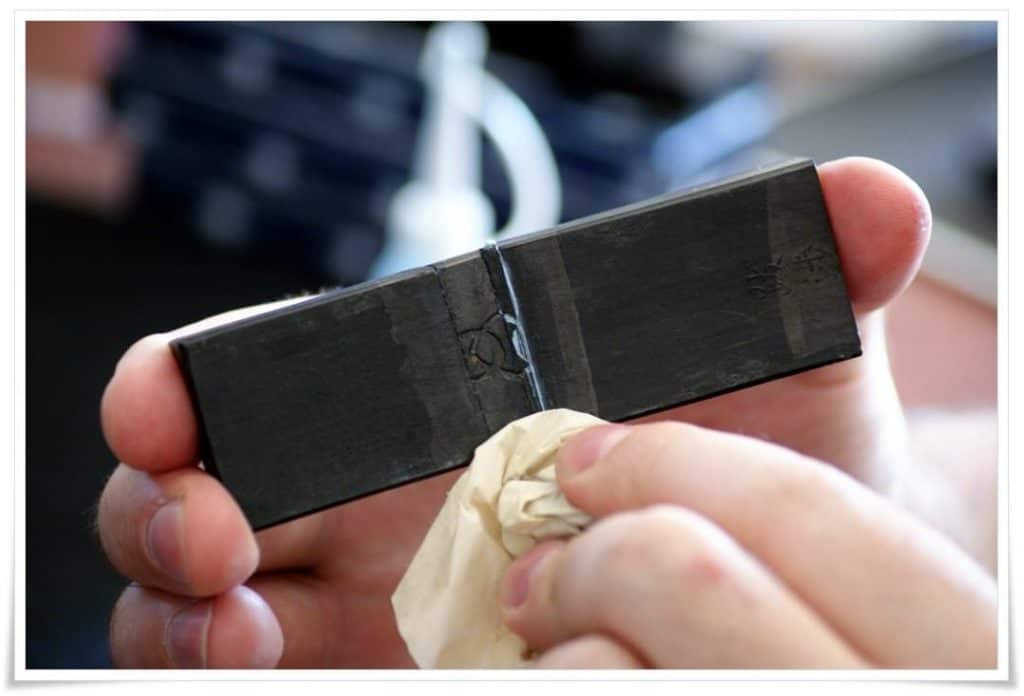
Glue both pieces together, press them against each other firmly, and remove all the excess glue before it dries out. If you leave the excess glue there, it will be mixed with the ink during grinding, and may affect ink spreading character, its colour, etc.
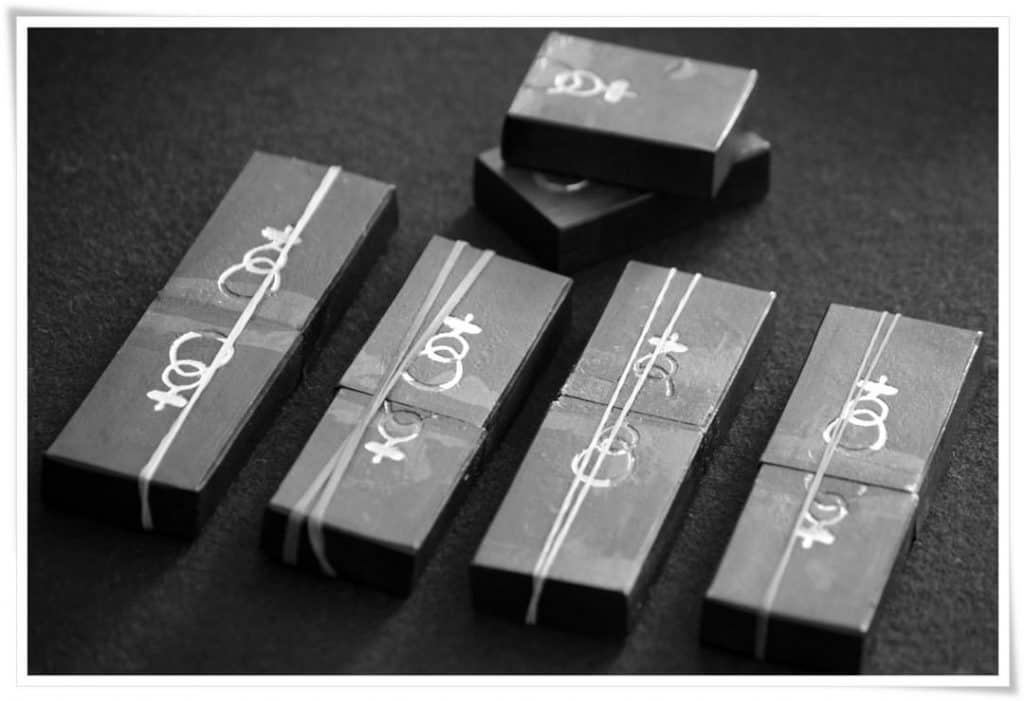
Lastly, you fasten a rubber band around the glued ink, and leave it for 24 hours to dry. Once dry, the glue colour turns from white to transparent, and the ink is ready to use.
It is important to remember not to use ink pieces that are over dried. If you see large cracks and chipping of the ink surface you should throw it out. It will chip during grinding, and the particles may damage (scratch) the inkstone grinding surface, the brush, or simply tear the paper during writing. Expensive inkstones destined for everyday use (there are also collectors inkstones, which are lavishly decorated with carvings) may reach a price of a few thousand dollars, and so can the brushes, so it is better to be careful and keep that in mind.
